Auto Importing
The biggest feature of this plugin is automatic importing from Figma.
You will need the Figma plugin for this to work. See Getting Started for more info on installation!
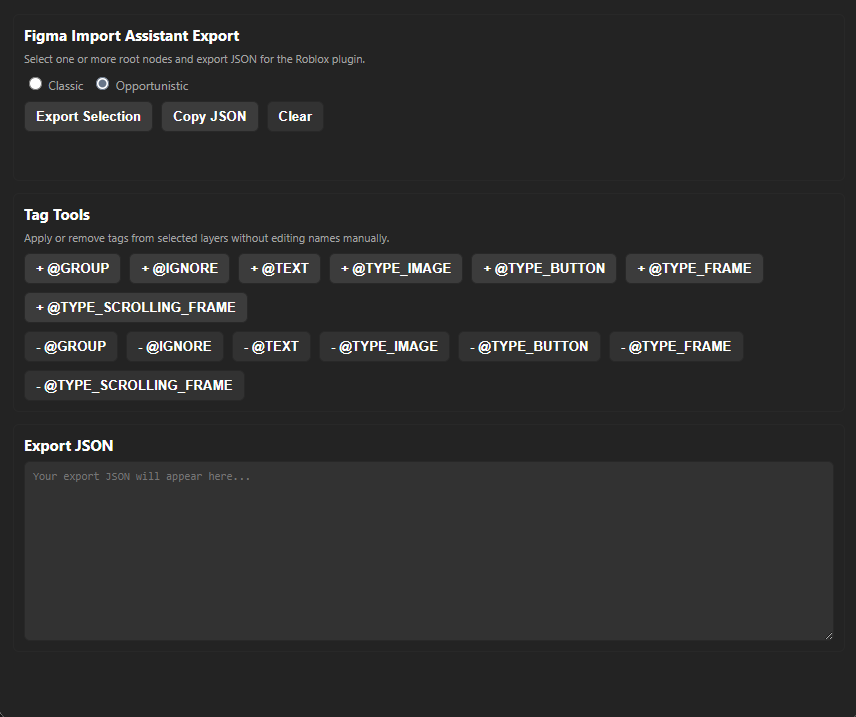
Your Figma plugin should look like this:
There are two distinct modes for automatic importing:
- Opportunistic: Introduced in v2 of the plugin, it imports things as frames, text, strokes, layout, etc from inference
- Classic: The original way of importing from v1, everything is imported as image labels by default
How to Import
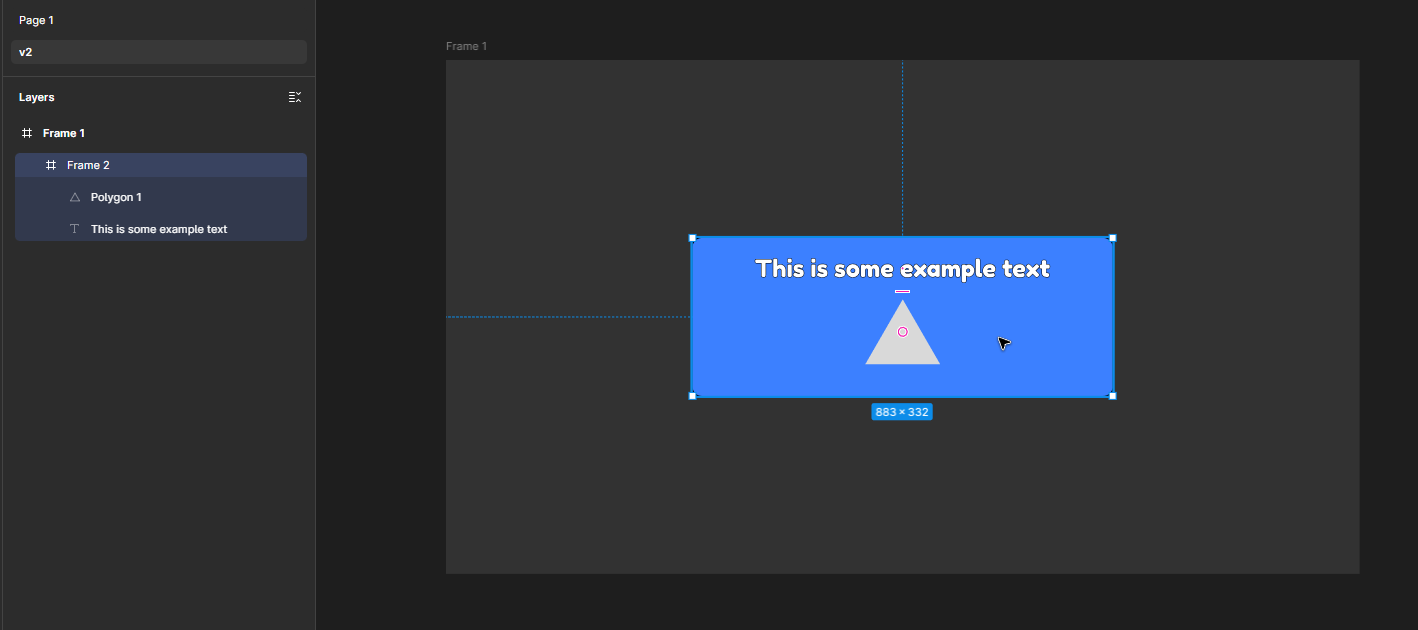
To import, first apply tags (see the tags section below) using the Figma plugin. Then, select your element that you're exporting (not the parent frame), such as this example:
Select your mode (opportunistic is recommended), and then click export selection. To copy your data, click copy JSON.
Now in Roblox Studio, select a ScreenGui instance, paste the JSON snippet you copied into the auto import section of the plugin, and click the auto import mode of your choice.
You will need to upload the images and apply them yourself! You can apply images either through:
- Property input (not recommended)
- Image mapping (recommended)
See the Image Mapping page for more information.
Tags
You can apply any of the following tags in Figma:
@GROUP: Does not export child elements@IGNORE: Does not export the element@TEXT: Exports the element as a text label@TYPE_IMAGE: Exports the element as an image label@TYPE_BUTTON: Exports the element as an image button@TYPE_FRAME: Exports the element as a frame@TYPE_SCROLLING_FRAME: Exports the element as a scrolling frame
Tags are used to change import behavior. You can manually add tags by appending them to element names, or by selecting elements and clicking tag buttons in the plugin.
Issues?
You might have issues when auto-importing. Check out the Common Issues page for more info.